
The Process of Replacing a Damaged Garage Door Section
- Commercial Garage Door
- Garage Door Opener Installation
- Garage Door Spring Repair
- Same Day Garage Door Repair
- Custom Garage Doors
- Garage Door Opener Repair
- Garage Door Track Repair
- Garage Door Cable Repair
- Garage Door Panel Repair
- Local Garage Door Repair
- Garage Door Replacement
- Noisy Garage Door Fix
- Gate Repair
- Garage Door Installation
- Garage Door Section Replacement
- Overhead Garage Door Repair
The Process of Replacing a Damaged Garage Door Section
It’s not uncommon for garage doors to suffer damage over time due to weather conditions, accidental impact, or just regular wear and tear. However, when one section of your garage door is damaged, it doesn’t necessarily mean you have to replace the entire door. In fact, in many cases, a simple garage door section replacement can restore both its functionality and appearance. Therefore, this guide will walk you through the process step-by-step, ensuring you’re well-equipped to handle this common household issue effectively.
Assessing the Damage
The first step in the garage door section replacement process is to assess the damage. First, take a close look at the affected area to determine if the damage is confined to a single panel or if it has impacted the overall structure of the door. If the damage is isolated to one section, then a replacement is a cost-effective solution. However, if multiple sections are compromised, you might need to consider replacing the entire door instead.
Choosing the Right Replacement Panel
Once you’ve confirmed that a garage door section replacement is the right course of action, the next step is to carefully select the appropriate replacement panel. Therefore, it’s crucial to ensure the new section matches the existing panels in terms of material, color, and design. In most cases, garage doors have a manufacturer’s label on the inside edge, which indicates the brand and model number. With this information in hand, you can easily find a matching replacement section at a local garage door supplier or, alternatively, through an online retailer.
Remove the Damaged Section
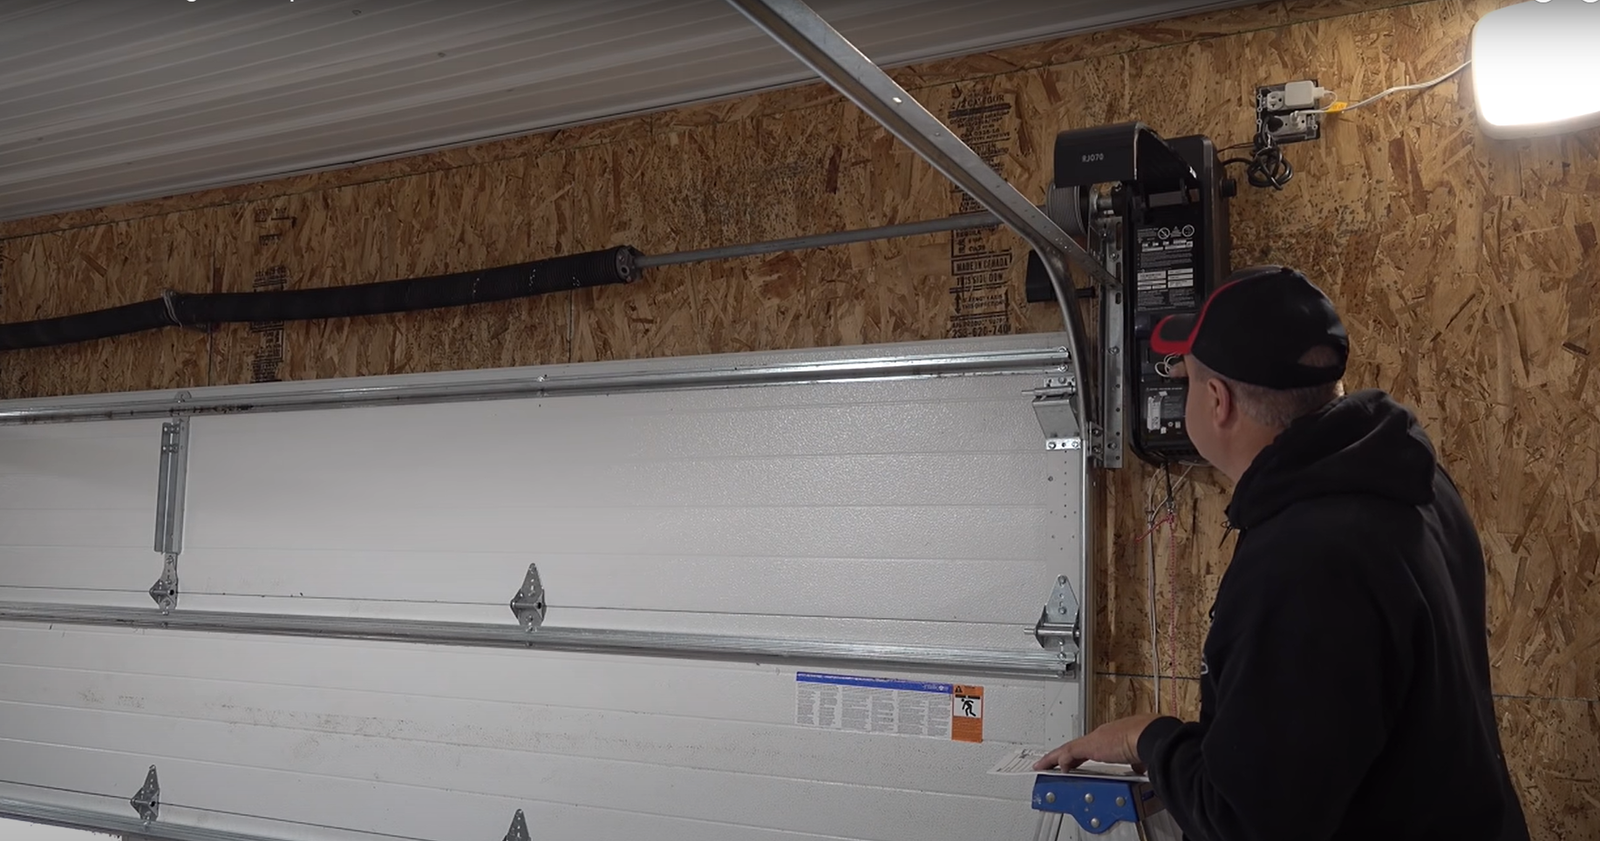
Replacing a garage door section is a task that requires some basic tools and safety precautions. Before you begin, make sure the garage door is closed, and then disconnect it from the automatic opener. This step is important because it will prevent any accidental activation during the replacement process. Next, use a wrench to remove the nuts and bolts that secure the damaged panel to the tracks and hinges. After that, carefully detach the section, ensuring you do not damage the adjacent panels.
Install the New Section
With the damaged panel removed, it’s time to install the new section. Align the replacement panel with the existing sections and secure it using the original nuts and bolts. Make sure the panel is level and properly aligned with adjacent sections. Reattach any hinges or brackets that connect the new section to the rest of the door. Once everything is in place, reconnect the garage door to the automatic opener and test its operation to ensure smooth movement.
After completing the garage door section replacement, take a few moments to perform a visual inspection. Check for any gaps or misalignments between the panels and ensure that all bolts and nuts are tightened securely. Consider applying a fresh coat of paint or touch-up paint to the new panel if necessary, so it blends seamlessly with the rest of the door. Regular maintenance, such as lubricating the tracks and hinges, can also prolong the life of your garage door.
By following these steps, homeowners, local businesses, garage door owners, and property managers can effectively undertake a garage door section replacement. However, if you’re not comfortable with DIY projects or if the damage is extensive, it’s always wise to consult with Hilliard Garage Door Repair. They can provide expert guidance and ensure the job is done safely and efficiently.
CALL NOW